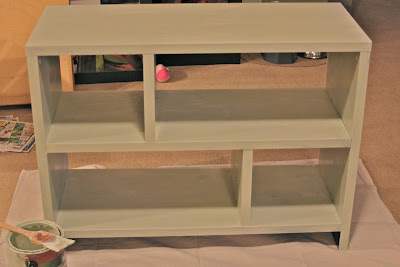
The first piece up is the couch side table. It is being repurposed as an entry way table/shoe storage. (Forgive the boxes and mess in the background... moving has taken over the little open space in the apartment we had)
I started by sanding down the entire piece. Just to get the shiny, smooth coat off and give something for the paint to grip to (don't want to do all this work just for the paint to peel off). And then a quick wipe down with a damp cloth to get all the dust off.
Then I started with paint coat one. It's a cream color. In Behr paint+primer. (If you aren't using a paint+primer, you might want to do a quick primer coat first). I didn't bother making sure I covered everything since I'll be putting another coat (in another color) over it and then sanding parts off to make it look more distressed anyway. So the patchiness of the paint actually fits the distressed vibe.
After letting coat one dry for a good few hours, paint coat two went on. This time a light green. Also Behr paint+primer (we had them left over from painting our apartment). Once again I wasn't super concerned about making sure it covered 100% since we were going for vintage and distressed.
Once the green dried, I sanded it down to give it even more of a worn look. I also dry brushed a little more cream on top. And ta-da! A vintage inspired table!
This project was completely foolproof. Not worn enough? Just sand more. Take off too much paint? Just add more. And since its supposed to be distressed, any scratches will look right at home. The best part about this project was that it was completely free! We already had the table, both paint colors, and sandpaper. Once we move into the house, the top will get some fun accessories (most of which are probably already packed up) and something to hold our keys.
So what does everyone think of our first official house decor project?


It looks great! Nice idea for the entry way.
ReplyDeleteSuper job
ReplyDelete